TrueNAS SCALE Setup
The software side of the home NAS project. The Home NAS Build covers the hardware; this picks up from first boot through ongoing maintenance.
Initial Setup
TrueNAS SCALE installed cleanly onto the WD Blue SN550 NVMe. After confirming the web UI was accessible, the first priority was setting a static IP — DHCP means the dashboard address can change after a reboot, which gets annoying fast.
The ZFS mirror pool came up without issues. Both 18TB N300 drives were recognized immediately and the pool configuration was straightforward through the UI.
Storage Layout
Pool: tank (mirror)
├── /tank/media
│   ├── movies
│   ├── shows
│   └── audiobooks    — Audiobookshelf library
├── /tank/photos        — Immich library
└── /tank/buffalo       — raw clone of both old Buffalo NAS drives
Network and Remote Access
Two layers of remote access are in place, serving different purposes.
Tailscale is installed for direct access to the TrueNAS dashboard and anything that doesn’t work well through a public tunnel. It handles administrative tasks — managing datasets, checking pool health, reviewing logs — and serves as the fallback for bandwidth-heavy operations. No port forwarding required.
Cloudflare Tunnel (cloudflared) exposes the three self-hosted services publicly via subdomains under harrisonsmith.me:
jellyfin.harrisonsmith.meimmich.harrisonsmith.meaudiobookshelf.harrisonsmith.me
The TrueNAS dashboard is not exposed through Cloudflare — administration stays Tailscale-only. Each service uses its own native authentication, which keeps things simpler than adding a Cloudflare Access layer in front of everything. The tradeoff is that each app manages its own security, but all three handle this adequately.
Cloudflare tunnels have a connection timeout that becomes a problem for large file uploads. The Immich project ran into this when uploading iPhone videos — see the Immich project page for the full details and the Tailscale workaround.
Why TrueNAS SCALE?
ZFS is one reason: checksumming, copy-on-write snapshots, and silent data corruption detection matter for long-term storage. But the app ecosystem and web UI were the main reasons to go with TrueNAS over a bare Debian + Samba setup. Deploying Jellyfin or Immich takes minutes from the catalog rather than an afternoon of Docker compose debugging.
Buffalo NAS Migration
A major part of this project was recovering data from two Buffalo NAS drives that had been sitting unused for roughly eight years:
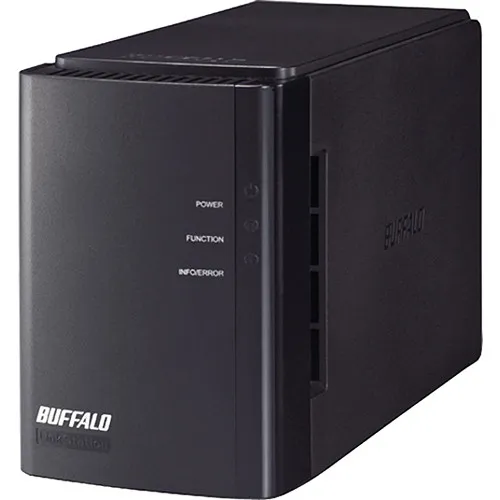
- Buffalo LinkStation Duo 6TB — a 6-bay unit that was full
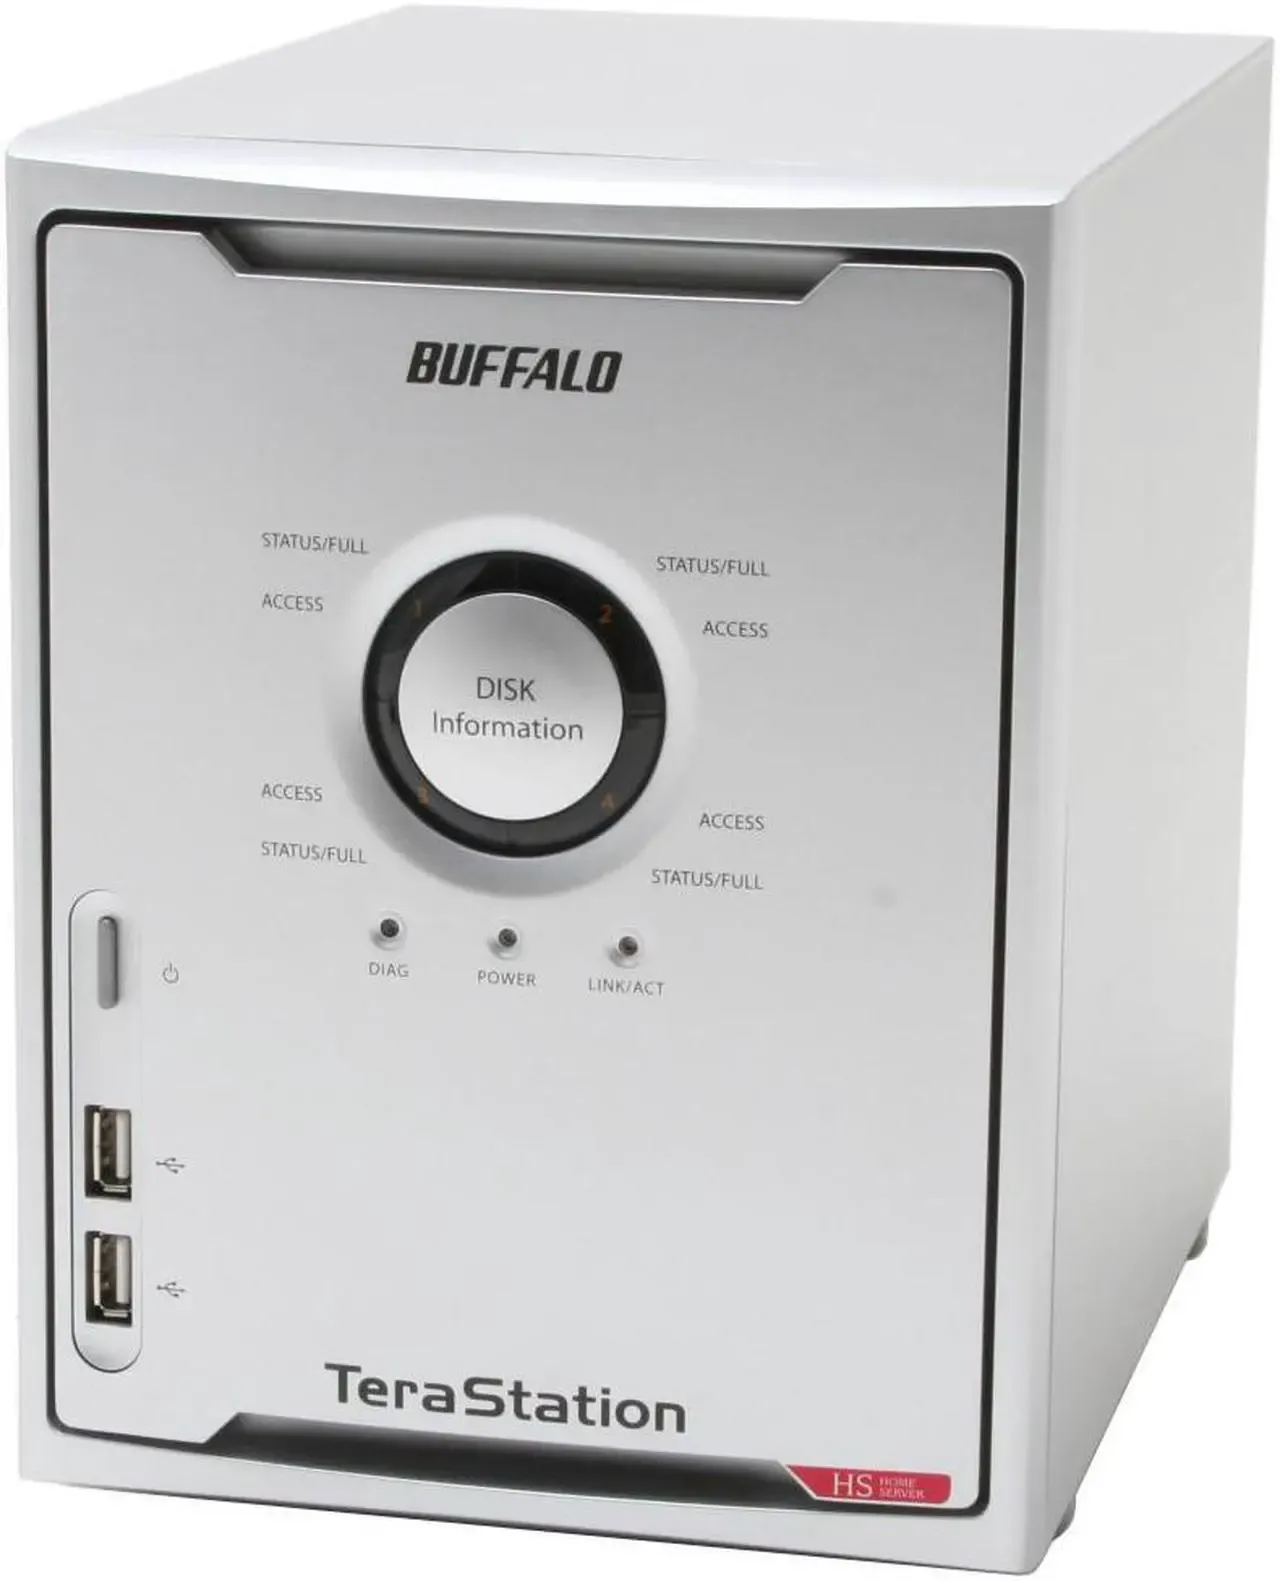
- Buffalo TeraStation Home 2TB (
HS-D2.0TGL/R5) — also at capacity
Both admin passwords were unknown and had to be reset through the hardware recovery process. Getting Windows to connect to the older TeraStation was its own obstacle: it only supports SMB1, which Windows disables by default. Had to re-enable SMB1 specifically for that connection.
Once both drives were accessible, robocopy cloned the full contents of each to /tank/buffalo. The transfer ran for many hours. The drives contained:
- Terabytes of movies and TV shows
- Years of family photos and videos
- Backups of old computers, many of which also contained photo libraries
From /tank/buffalo, the media went to /tank/media and the photos went through the Immich import pipeline. See the Jellyfin and Immich pages for how each of those was handled.
Self-Hosted Services
| Service | URL | Purpose |
|---|---|---|
| Jellyfin | jellyfin.harrisonsmith.me | Media server with GPU transcoding |
| Immich | immich.harrisonsmith.me | Photo and video library |
| Audiobookshelf | audiobookshelf.harrisonsmith.me | Audiobook server |
Backup Strategy (Pending)
The NAS is primary storage, not a backup. A 3-2-1 backup strategy is still being evaluated:
- 3 copies of important data
- 2 different media types
- 1 offsite copy
Backblaze B2 is the leading option for offsite cloud backup via TrueNAS’s built-in cloud sync tasks.
Tasks
- Set up UPS monitoring medium
- Implement offsite backup (Backblaze B2) medium
- Create TrueNAS SCALE bootable USB high
- Install TrueNAS SCALE to NVMe boot drive high
- Configure mirrored ZFS pool (2x 18TB N300) high
- Create datasets with appropriate record sizes high
- Configure SMB shares for Windows access high
- Set up user accounts and permissions high
- Set static IP address high
- Configure automatic SMART tests and ZFS scrubs medium
- Configure email alerts for pool health medium
- Install Tailscale for remote administration high
- Set up Cloudflare tunnels (cloudflared) high
- Configure public subdomains for each service high
- Recover and access data from old Buffalo NAS drives high
- Robocopy all Buffalo data to /tank/buffalo high
- Reorganize and rename media for Jellyfin high
- Import family photos and videos into Immich high
Milestones
- TrueNAS installed and web UI accessible
- ZFS pool healthy and shares reachable from network
- Remote access configured (Tailscale + Cloudflare)
- Buffalo NAS data fully migrated
- All services live with public tunnel access
- Monitoring and alerts configured
- Offsite backup implemented
Dev Log
Buffalo NAS drives recovered — robocopy transfer running
Got both old Buffalo NAS drives online after resetting admin passwords. Had to re-enable SMB1 on Windows for the older TeraStation. Robocopy transfer to /tank/buffalo is running.
This was the part of the project I was most uncertain about. Both Buffalo NAS drives had been sitting unplugged for roughly eight years. Admin passwords were unknown on both. No guarantee the drives or data were still intact.
The drives
- Buffalo LinkStation Duo 6TB — spun up fine. Admin password recovery on these is a documented process (hold the reset button, factory resets the admin credentials). Got into the web UI without much trouble.
- Buffalo TeraStation Home 2TB (
HS-D2.0TGL/R5) — also spun up. Same reset process. The complication here was getting Windows to actually connect.
SMB1 headache
The TeraStation is old enough that it only supports SMB1. Windows disables SMB1 by default now (security reasons — SMB1 has well-known vulnerabilities). To connect, I had to enable it through Windows Features:
Control Panel → Programs → Turn Windows features on or off → SMB 1.0/CIFS File Sharing Support
Enabling it requires a reboot. After that, the TeraStation appeared in network discovery and I could browse the shares. I’ll disable SMB1 again once the transfer is done.
What’s on the drives
The drives had been used as a household media and backup server. Contents were roughly:
- Terabytes of movies and TV shows ripped over the years
- Family photos and videos going back ~26 years, including photos from the early 2000s
- Full backups of several old computers, most of which contained additional photo libraries
Both drives were at capacity. A lot of this is probably duplicated across the two NAS drives and the computer backups, but I’ll deal with deduplication after getting everything onto the new NAS.
Robocopy transfer
Started a robocopy job to clone both drives to /tank/buffalo:
robocopy \\<nas-ip>\share E:\... /E /COPYALL /LOG:transfer.logRunning it to a local staging drive first, then will move to the NAS once I verify the transfer. Given the total volume, this is going to run overnight — probably into tomorrow.
Remote access live: Tailscale and Cloudflare tunnels
Installed Tailscale for admin access and deployed cloudflared to expose all three services publicly on subdomains of harrisonsmith.me.
With the base TrueNAS config stable, the next step was remote access. The goal was a setup where the TrueNAS dashboard and sensitive admin functions stay private, but the self-hosted apps (Jellyfin, Immich, Audiobookshelf) are accessible from anywhere without having to VPN in just to watch a movie.
Tailscale
Installed the Tailscale app from the TrueNAS catalog. After authenticating, the NAS appeared as a node on the Tailnet immediately. From any of my devices with Tailscale installed, I can now reach the TrueNAS web UI directly.
This is the primary method for administration and will be the fallback for anything that doesn’t work well through a public tunnel — large uploads especially.
Cloudflare Tunnel
Set up cloudflared as a separate app. Created a tunnel in the Cloudflare dashboard and configured ingress rules for each service using subdomains of harrisonsmith.me (the domain already used for this portfolio site):
jellyfin.harrisonsmith.me→ Jellyfin container portimmich.harrisonsmith.me→ Immich container portaudiobookshelf.harrisonsmith.me→ Audiobookshelf container port
The tunnel runs as a persistent daemon inside the container, maintains an outbound connection to Cloudflare, and routes inbound HTTPS traffic to the right container — no port forwarding or firewall rules needed.
Each service handles its own authentication. No Cloudflare Access layer for now; the native login screens for each app are sufficient and adding another auth step would make sharing with family more annoying than it’s worth.
The TrueNAS dashboard is deliberately not exposed here. Admin access stays Tailscale-only.
TrueNAS installed, ZFS pool up, static IP set
First boot after hardware hand-off. TrueNAS SCALE installed to the NVMe, mirrored ZFS pool configured across both 18TB drives, SMB shares working, and a static IP locked in.
Hardware handed off from the NAS build today. First order of business was getting TrueNAS SCALE onto the WD Blue SN550 — made a bootable USB, booted from it, and the installer ran without any surprises.
First boot
Web UI came up on the DHCP-assigned address. First real task was setting a static IP so the address doesn’t change after a reboot. Set it through the TrueNAS network configuration screen — straightforward.
ZFS pool
Both 18TB N300 drives showed up immediately in the disk list. Created a mirror pool (tank) from the two drives, which gives 18TB usable with single-drive failure tolerance. No RAID-Z here — with only two drives, mirroring is the right call.
Created initial datasets:
/tank/media— for Jellyfin (movies and shows subfolders)/tank/photos— for Immich/tank/audiobooks— for Audiobookshelf/tank/buffalo— staging area for the old Buffalo NAS data
SMB shares
Set up SMB shares and local user accounts. Verified access from Windows — drives map cleanly, permissions look right.
Monitoring
Scheduled weekly SMART short tests and monthly extended tests on both drives. Set up a monthly ZFS scrub. Configured email alerts for pool health events so anything critical doesn’t go unnoticed.
Good foundation. Next up: remote access and getting the old Buffalo data off those drives.