Resin 3D Printing Setup
A resin 3D printing setup built specifically for printing D&D miniatures. Resin printing (MSLA) is the right choice for miniatures over FDM — the layer resolution is an order of magnitude finer, which matters a lot for small-scale detail like faces, hands, and armor texture.
Equipment
| Item | Notes |
|---|---|
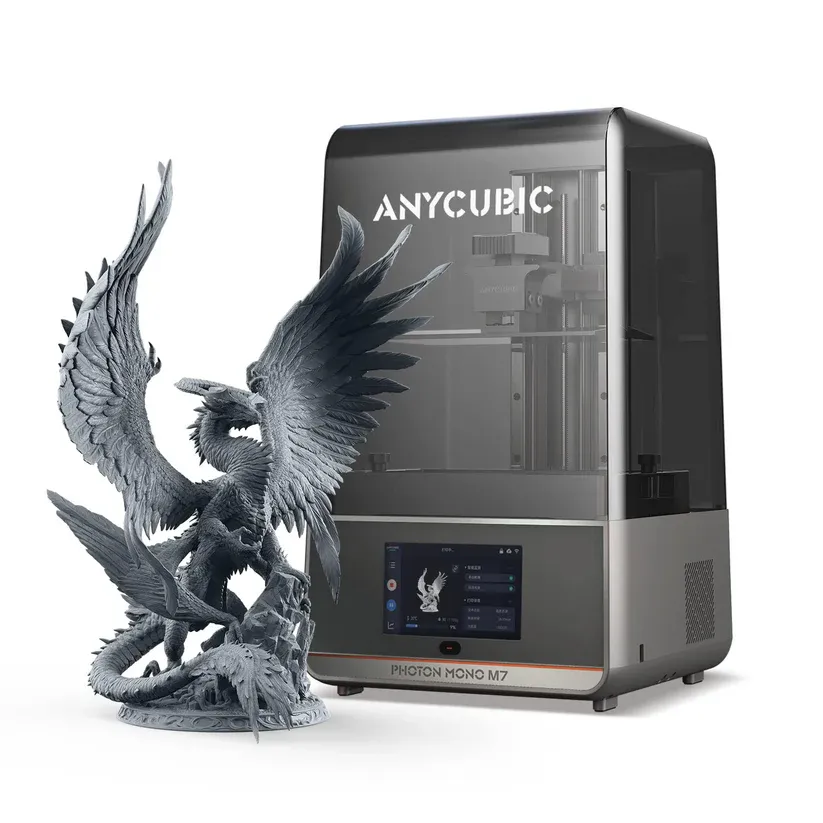
| Anycubic Photon Mono M7 | MSLA printer, came with 2kg of free resin |
| ELEGOO Mercury Plus 2.0 | Wash and cure station |
| VIVOSUN S3018 Grow Tent | 30”×18”×36” enclosure for fume containment |
| AC Infinity CLOUDLINE PRO T4 | Inline fan for active ventilation |
| Vent Systems 5” to 4” Reducer | Duct adapter for the fan outlet |
| MaxTite IPA 99.9% | Wash solvent |
| MedPride Nitrile Gloves | Required PPE for handling uncured resin |
Enclosure and Ventilation
Uncured resin fumes are toxic and should not be breathed. The standard DIY solution — and the one used here — is a grow tent. Grow tents are airtight fabric enclosures designed for hydroponic setups, which makes them a natural fit: they have built-in duct ports, are lightproof (useful for resin), and are inexpensive.
The VIVOSUN S3018 fits both the Photon Mono M7 and the Mercury Plus 2.0 with room to work. The AC Infinity CLOUDLINE PRO T4 pulls air from inside the tent through the 5”-to-4” reducer adapter and out through ducting to a window. The CLOUDLINE PRO has programmable speed control and runs quietly — it’s the same fan platform used in serious grow setups.
The missing piece is the duct run itself and a window adapter to seal the exit point. Once that’s in place, the ventilation loop is complete and it’s safe to print.
Why Resin for Miniatures?
FDM printers (the kind that melt plastic filament) are great for larger prints but struggle with fine detail at miniature scale. The layer heights on even a well-tuned FDM printer are visible on a 28mm figure. MSLA resin printers cure entire layers at once using a masked LCD, typically at 0.05mm layer height or finer. The surface finish is smooth enough that mold lines and layer artifacts are minimal.
The Photon Mono M7 specifically has a 10” mono LCD and a 9K resolution screen — more than enough for detailed miniature work.
Tasks
- Purchase duct and window adapter high
- Complete ventilation run to window high
- First print test (exposure calibration) high
- Print first D&D miniatures medium
- Purchase Anycubic Photon Mono M7 high
- Purchase ELEGOO Mercury Plus 2.0 wash and cure machine high
- Purchase VIVOSUN S3018 grow tent high
- Purchase AC Infinity CLOUDLINE PRO T4 fan high
- Purchase duct reducer adapter (5" to 4") medium
- Purchase IPA and nitrile gloves high
- Assemble grow tent and place equipment inside high
- Install CLOUDLINE PRO and connect duct reducer high
Milestones
- All core equipment purchased and assembled
- Ventilation fully ducted to window
- First successful print
- First D&D miniatures printed
Dev Log
Equipment arrived — grow tent assembled and fan installed
Anycubic Photon Mono M7, ELEGOO Mercury Plus 2.0, VIVOSUN grow tent, and AC Infinity fan all arrived. Tent is assembled with both machines inside and the ventilation fan connected.
Everything arrived within a few days of each other. The grow tent went together quickly — it’s a straightforward pole-and-fabric assembly. Placed the Photon Mono M7 and the Mercury Plus 2.0 inside with enough room to open the printer lid and work comfortably.
Ventilation
The AC Infinity CLOUDLINE PRO T4 mounts to the upper duct port on the tent. Connected the 5”-to-4” reducer adapter to the fan outlet. The CLOUDLINE PRO has a controller that lets you set a target temperature and adjust fan speed automatically — useful for keeping the tent from getting too warm during long prints.
The fan is running, but the duct run to the window isn’t in place yet. Still need a flexible duct and a window adapter to seal the exit properly. Until that’s done, printing is on hold — running uncured resin indoors without a sealed exhaust isn’t safe.
First impressions
The Photon Mono M7 is large for a resin printer. The 10” build plate is noticeably bigger than the entry-level machines. Came boxed with 2kg of free resin (one grey, one skin tone), which is a solid amount to work through calibration prints and early miniatures.
The Mercury Plus 2.0 wash station is also larger than I expected — fits the full build plate with room to spare, which matters when washing supports off a full plate of minis at once.
Next step: source the window duct adapter and finish the exhaust run.